# WooCommerce Stripe Addon
The easiest and fastest way to add 30+ payment methods to your WooCommerce website powered by Stripe! Payment methods all-in-one form with a simple confugration.
## **Thank you for choosing our plugin!**
WooCommerce Stripe addon is a payment gateway for WooCommerce. With just a single configuration, unlock access to over 30 secure and globally recognized payment methods, including Credit Cards, Google Pay, ApplePay, WeChat Pay, Alipay, Afterpay, ACH, Klarna, iDEAL, FPX, Grabpay, OXXO, Multibanco, Bancontact, EPS, P24, Giropay, Affirm, and more.
woocommerce stripe element
## Quick links
{% content-ref url="/pages/RZjUtsStAMNtkXrY5k3Y" %}
[Checkout Redirect](/payment-methods/checkout-redirect)
{% endcontent-ref %}
{% content-ref url="/pages/udP7DagDxEdxLyxa7L4A" %}
[Checkout Form (Pro)](/payment-methods/checkout-form-pro)
{% endcontent-ref %}
{% content-ref url="/pages/dE3M41hbU04D3QmlvRf3" %}
[Express Checkout (Pro)](/payment-methods/express-checkout-pro)
{% endcontent-ref %}
## Get Started
We've put together some helpful guides for you to get setup with our product quickly and easily.
{% content-ref url="/pages/xs0tpM81kHpwRoBfEvHv" %}
[Download Plugin](/fundamentals/download-plugin)
{% endcontent-ref %}
{% content-ref url="/pages/TLfvZoADzRU4GCjdRzAe" %}
[Webhook Configuration](/fundamentals/webhook-configuration)
{% endcontent-ref %}
# Checkout Redirect
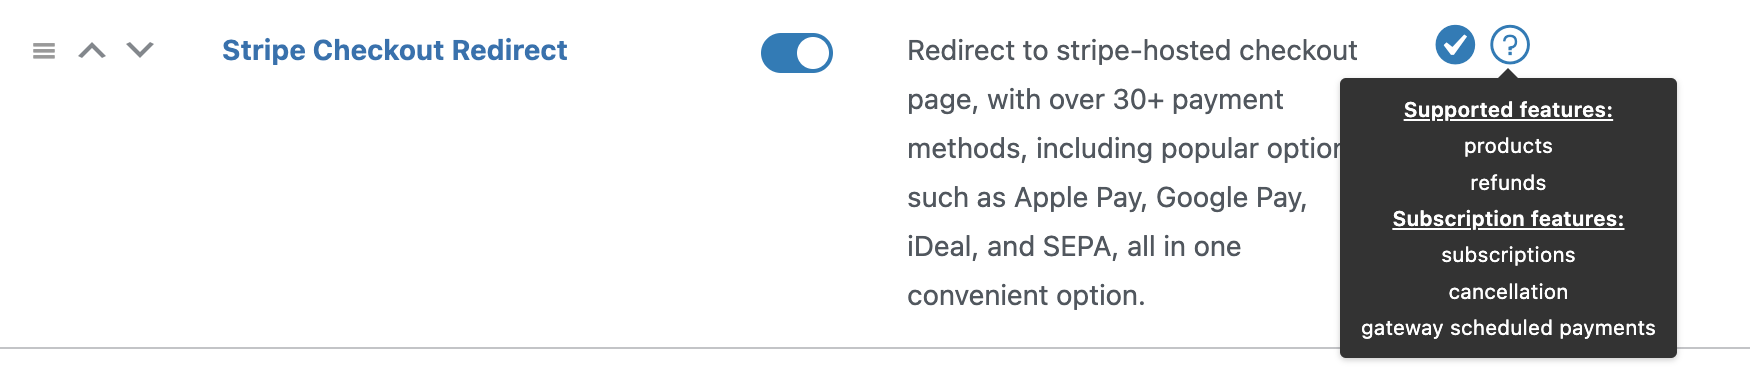
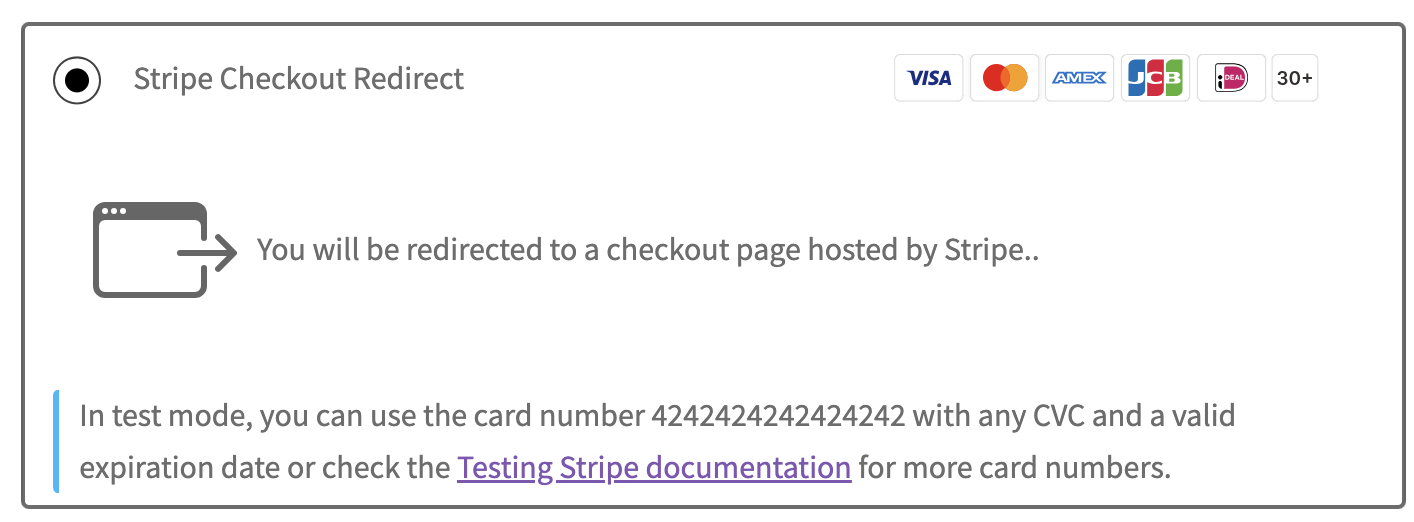
Redirect to SCA-ready stripe-hosted checkout page, with over 30+ payment methods, including popular options such as Apple Pay, Google Pay, iDeal, and SEPA
woocommerce stripe checkout redirect
## What is a hosted checkout page?
Stripe Hosted Checkout Page is a secure and user-friendly solution offered by the Stripe payment platform. Designed to streamline the online payment process, this feature allows businesses to delegate the handling of sensitive payment information to Stripe's secure servers.
* **Security:** Hosted on Stripe's secure servers, the checkout page ensures the safe handling of payment data, complying with industry standards like PCI DSS.
* **Customization:** While benefiting from Stripe's security infrastructure, businesses can customize the checkout page's appearance, integrating logos and adjusting colors to maintain brand identity.
* **Mobile Responsiveness:** The hosted page is optimized for various devices, ensuring a smooth payment experience across desktops, tablets, and smartphones.
* **Payment Method Diversity:** Stripe Hosted Checkout Page supports a wide range of payment methods, including credit cards, digital wallets, and other region-specific options, providing flexibility for customers.
## Enable in WooCommerce
Goto Woocommerce -> Settings -> Payments, find **Stripe Checkout Redirect,** and enable it.
Or, you can click the redirect button from our plugin -> payment methods, find the checkout redirect card, and then click the **setup** button.
## Configuration
In the settings page, we support the below fields to customize the payment method in woocommerce checkout page.
* **Title:** Define the current payment method title displayed on the checkout page.
* **Icon:** Personalize the payment method icon; a default one will be used if left blank.
* **Description:** Craft a brief description to be showcased in the payment method content.
* **Payment methods:** Choose from the array of payment methods available on your Stripe account. Opt for specific ones if you wish to limit the options displayed.
{% hint style="info" %}
The displayed payment methods adhere to your current WooCommerce currency setting. For instance, if your currency is US-Dollar, options like iDeal and EPS won't appear. To confirm the activation status of a payment method, kindly refer to
{% endhint %}
# Checkout Form (Pro)
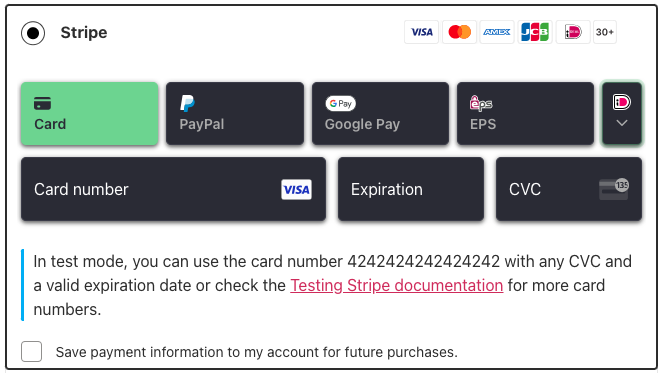
Standing out by offering 30+ global payment options on a single, easily configurable, and nice-look checkout form with flexible layouts, multiple themes.
woocommerce stripe checkout form
{% hint style="warning" %}
A professional plan is required
{% endhint %}
## Simplest configuration
Compared with other woocommerce payment plugin, every payment method needs one configuration setting, if your site is global, which means you may set up a dozen of method settings.
With our plugin, we make all kinds of configurations into one.
## Enable in WooCommerce
Goto Woocommerce -> Settings -> Payments, find **Stripe Checkout Form,** and enable it.
Or, you can click the redirect button from our plugin -> payment methods, find the checkout form card, and then click the **setup** button.
## Configuration
In the settings page, we support the below fields to customize the payment method in woocommerce checkout page.
* **Title:** The current payment method title in checkout page.
* **Icon:** The current payment method icon, we will use a default one if nothing else is provided.
* **Description:** This description will be shown in the payment method content.
* **Payment methods:** By default, the stripe checkout page will list all available payment methods in which your stripe account is activated. If you want only to allow some of them, you can choose them here.
* **Payment Methods Order:** Customize the default payment method order. Unspecified methods display after defined ones (e.g. Card & Google Pay means Card first, then Google Pay and others).
### Layout
Customize the Payment Element’s layout to fit your checkout flow: Three layouts supported so far: **Tabs**, **Accordion with radio buttons**, **Accordion without radio buttons**
### Themes
Three themes supported so far: Stripe, Night, Flat
## Google & Apple Pay
There are two options to enable digital wallet support for Google Pay, Apple Pay, and Microsoft Pay in our plugin:
* [x] Append Google & Apple Pay (Payment Method Integration)
* [x] Express Checkout Button
### Append Google & Apply pay
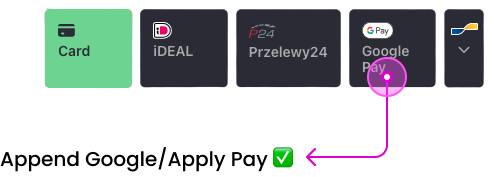
This option adds the digital wallets to the existing payment method list on the checkout form. The wallets will display in the order defined in the Payment Methods settings. Customers still need to enter billing and shipping information using this method.
### Express Checkout Button (Recommend)
The express checkout button provides a streamlined one-click checkout experience. This button appears prominently at the top of the checkout page. Customers can check out using a digital wallet without typing any additional information.
We recommend enabling the Express Checkout integration for the simplest, most seamless customer experience. The two options can also work together - Express Checkout to allow easy one-click payments, plus the payment method integration as a backup if customers prefer to enter billing/shipping details. Please reach out if you need any assistance setting up and configuring digital wallet support.
# Express Checkout (Pro)
Accepting payments through one-click payment buttons. Supported payment methods include Apple Pay, Google Pay, Link.
{% hint style="warning" %}
Checkout Form is required to enable the Express Checkout Button
{% endhint %}
### Activate Google & Apple Pay
Firstly, we need to activate Google & Apple Pay in Stripe payment method setting
{% hint style="info" %}
The Apple Pay needs domain verification, you can follow the stripe guide between to verify it
{% endhint %}
### Enable in WooCommerce
Step 1:
Goto Woocommerce -> Settings -> Payments, find **Stripe Checkout Form,** and enable it.
Step 2:
In **Stripe Checkout Form** -> enable Express Checkout Button
### Configuration
In **Stripe Checkout Form setting**, click the **customize** link button. Or, you can click the redirect button from our plugin -> payment methods, find the checkout form card, and then click the **setup** button.
* **Button Type:** Available options: Buy, Book, Check-out, Donate, Order or Plain
* **Button Size:** Default (40 px), Medium (48 px), Large (55 px)
* **Button Theme:** Dark, Light, Light Outline (Apply pay only)
### Link
By default, the Link button is activated automatically, you can turn it off in Stripe Settings if you don't want to enable the Link button.
### How to test Google & Apple Pay
For Google Pay, only Chrome browser is supported, and a valid Google Credit card, you can add 4242424242424242 as test card.
For Apple Pay, Stripe test card information can’t be saved to Wallet in iOS. Instead, Stripe recognizes when you’re using your test [API keys](https://stripe.com/docs/keys) and returns a successful test card token for you to use. This allows you to make test payments using a live card without it being charged.
# Download Plugin
Free to download plugin to getting start.
### Install from [wordpress.org](https://wordpress.org/plugins/payment-addons-for-woocommerce/) plugin (recommended)
Find the plugin and click Install Now. After the download is complete, click Activate.
* Log in to your WordPress dashboard and click Plugins on the left menu bar.
* Click the Add New button and Enter WooCommerce Stripe Payment in the Search Plugins bar.
* Find the plugin and click Install Now.
### Download Manually
Download it from
# Webhook Configuration
Webhooks allow Stripe to send messages back to your WordPress site. Setting up webhooks is required for some delayed-notification payment methods such as SEPA and also refund feature.
### What is a webhook?
Webhooks allow Stripe to send notifications to your website when certain events occur. For example, if a payment is refunded in Stripe, Stripe can automatically send a notification to your webhook to let your website know.
### How to setup a webhook?
1. In your Stripe dashboard, click Developer -> [Webhooks](https://dashboard.stripe.com/webhooks), then click the Add endpoint button.
2. To get the endpoint URL, go back to the **Setting** tab in your WordPress dashboard and you should see a field labeled `Webhook URL`. Copy the URL or click the copy icon.
3. Paste the endpoint URL into the dialog box in your Stripe dashboard.
4. Add the below events to listener
```
charge.succeeded
charge.failed
charge.captured
charge.refunded
charge.refund.updated
checkout.session.completed
checkout.session.async_payment_succeeded
checkout.session.async_payment_failed
checkout.session.expired
payment_intent.payment_failed
payment_intent.succeeded
payment_intent.amount_capturable_updated
payment_intent.requires_action
```
### Enable Webhook signatures (Strongly recommended)
Generating a signature for the webhook can greatly protect your endpoint from being abused by external parties.
In your Stripe dashboard, go to the webhook settings and click the `Signing secret` button to generate a signature.
Go back to plugin settings and paste to the webhook secret field in the **Settings** tab
### Webhook Connection Test
First of all, let's do some payments with our plugin under test mode, then go to the webhook URL and find any events such as a payment\_intent.succeeded. Now click the \`Resend\` button to trigger the event again.
If the response is 200 (OK), our plugin will process the event and display a connected status in the Webhook URL field.
# Auto-Tax Calculation
Leverage Stripe Tax Calculation for WooCommerce Checkout (Only Stripe Hosted Checkout).
If you're tired of using the WooCommerce Tax plugin, we offer a simple and reliable solution to automate sales tax, VAT, and GST calculations for all your transactions by leveraging Stripe Tax Calculation.
{% hint style="warning" %}
Currently, only The [**Checkout Redirection**](/payment-methods/checkout-redirect) is supported.
{% endhint %}
### Stripe Tax Setting
to getting started, You need to configure your Stripe Tax setting in the [Dashboard](https://dashboard.stripe.com/settings/tax).
1. [Confirm your origin address](https://docs.stripe.com/tax/set-up#origin-address). Review and confirm that your details are correct.
2. [Select a preset tax code](https://docs.stripe.com/tax/set-up#preset-tax-code). We use it to apply the correct tax rate.
3. [Select whether prices include tax](https://docs.stripe.com/tax/set-up#default-tax-behavior) to have a tax behavior on every price for products. (Included or Excluded)
4. [Add tax registrations](https://docs.stripe.com/tax/set-up#add-registrations). Add an active tax registration when you’ve exceeded a tax threshold.
### Enable Stripe Tax In Checkout
Once the preset tax is done in the Stripe Dashboard, you need to enable auto-tax calculation in our plugin's Checkout Redirection settings on your site. Navigate to Woo Stripe Pay -> Payment Methods -> Checkout Redirect -> Setup:
{% hint style="warning" %}
However, this setting will conflict with the WooCommerce Tax plugin. If WooCommerce Tax is enabled, our plugin will skip using the Stripe Auto Tax feature during checkout to avoid any conflicts.
{% endhint %}
Therefore, please ensure that the WooCommerce Tax is disabled. To do so, navigate to WooCommerce -> Settings -> General:
### Override Product tax code
You can also override the preset tax code if you have different product types that require different tax rates or calculations.
For instance, if your default tax code is set to "General - Electronically Supplied Services" in the Stripe Dashboard, but you have a Software as a Service (SaaS) product that needs to use the "txcd\_10103001" tax code, you can specify this by adding a "**tax\_code**" key in the WooCommerce product attributes with the value "txcd\_10103001".
To view all available tax codes and their descriptions, please refer to the Stripe documentation at .
### Testing
Once we've completed the above settings, we can observe how it works on the Stripe-hosted checkout page with taxes. By selecting different countries during the checkout process, you'll be able to see the difference in the total price (if the tax behavior is set to exclude taxes from the product prices).
# Woo Subscription Integration (Pro)
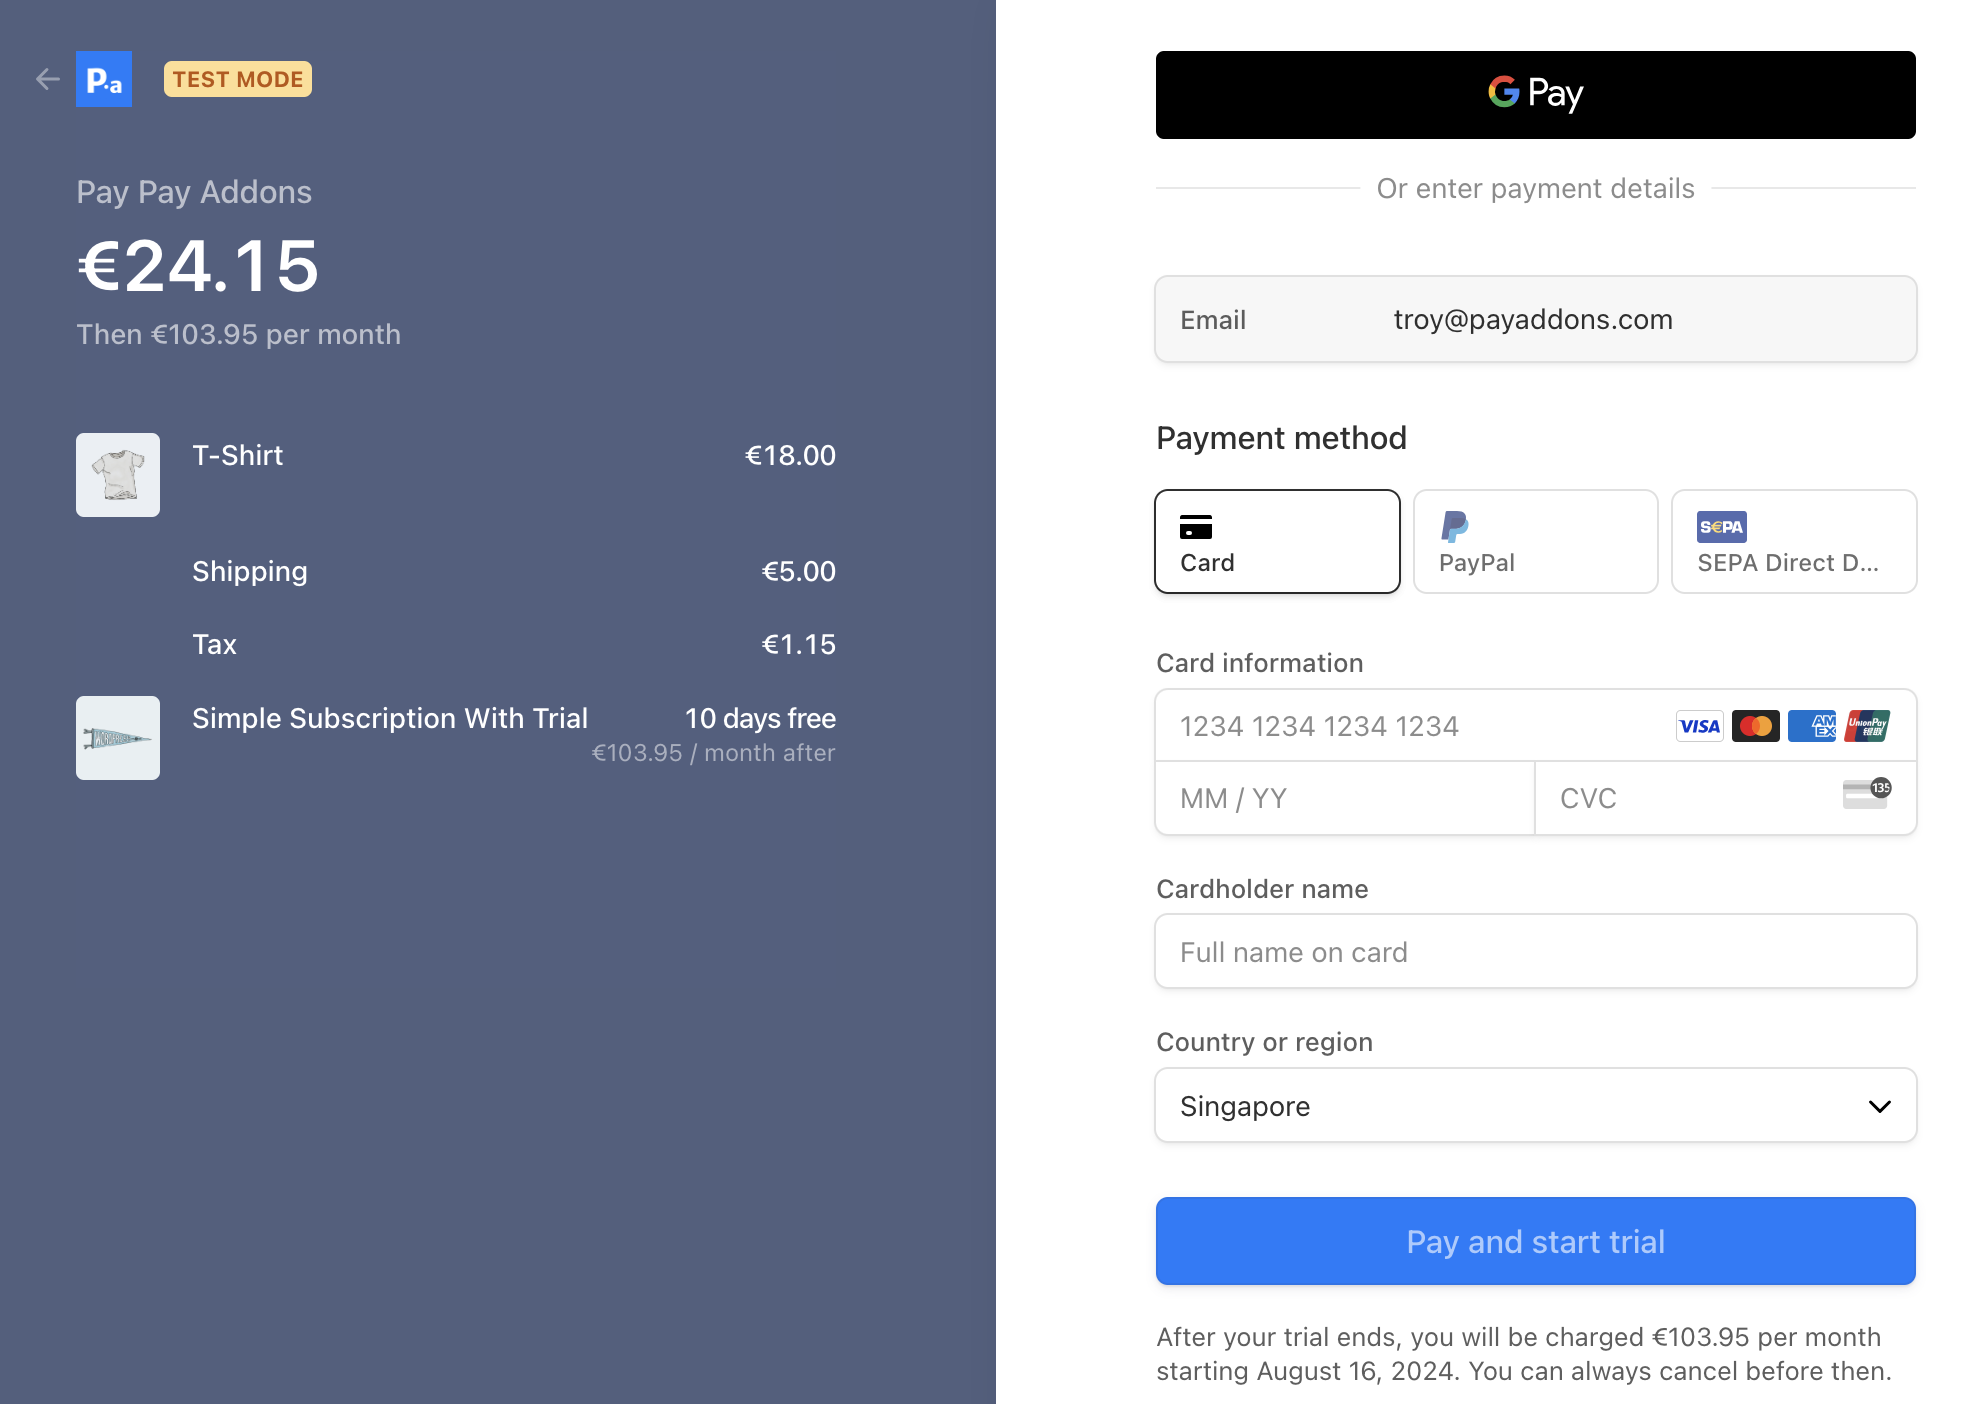
Seamlessly integrate WooCommerce Subscriptions with Stripe's self-hosted checkout page for your subscription-based store. Supports a wide range of subscription features and payment methods.
Supported Features
* [x] Free Trials & Sign-Up Fees
* [x] Simple Subscription Product
* [x] Subscription Coupons
* [x] Subscription tax
* [x] Subscription cancellation
* [x] 20+ payment methods supported
{% hint style="danger" %}
[woocommerce-subscriptions plugin ](https://woocommerce.com/products/woocommerce-subscriptions/)is required for this integration.
{% endhint %}
### Tutorial: Creating and Processing a Simple Subscription Product
This guide will walk you through creating a subscription product and processing it through the Stripe checkout page.
#### Install woocommerce subscription plugin
This integration relies heavily on the WooCommerce Subscriptions plugin. Purchase and install it from the [WooCommerce website](https://woocommerce.com/products/woocommerce-subscriptions/).
#### Enable Stripe Checkout Redirect payment gateway
Install our premium plugin and enable the Checkout Redirect feature. For detailed setup instructions, refer to our [Checkout Redirect documentation](https://woo-docs.payaddons.com/payment-methods/checkout-redirect).
#### Create a subscription product
1. Navigate to Product -> Add New
2. Select "Simple Subscription" from the product type dropdown.
3. Fill in the subscription details. For example:
* Price: €99/month
* Sign-up fee: €100
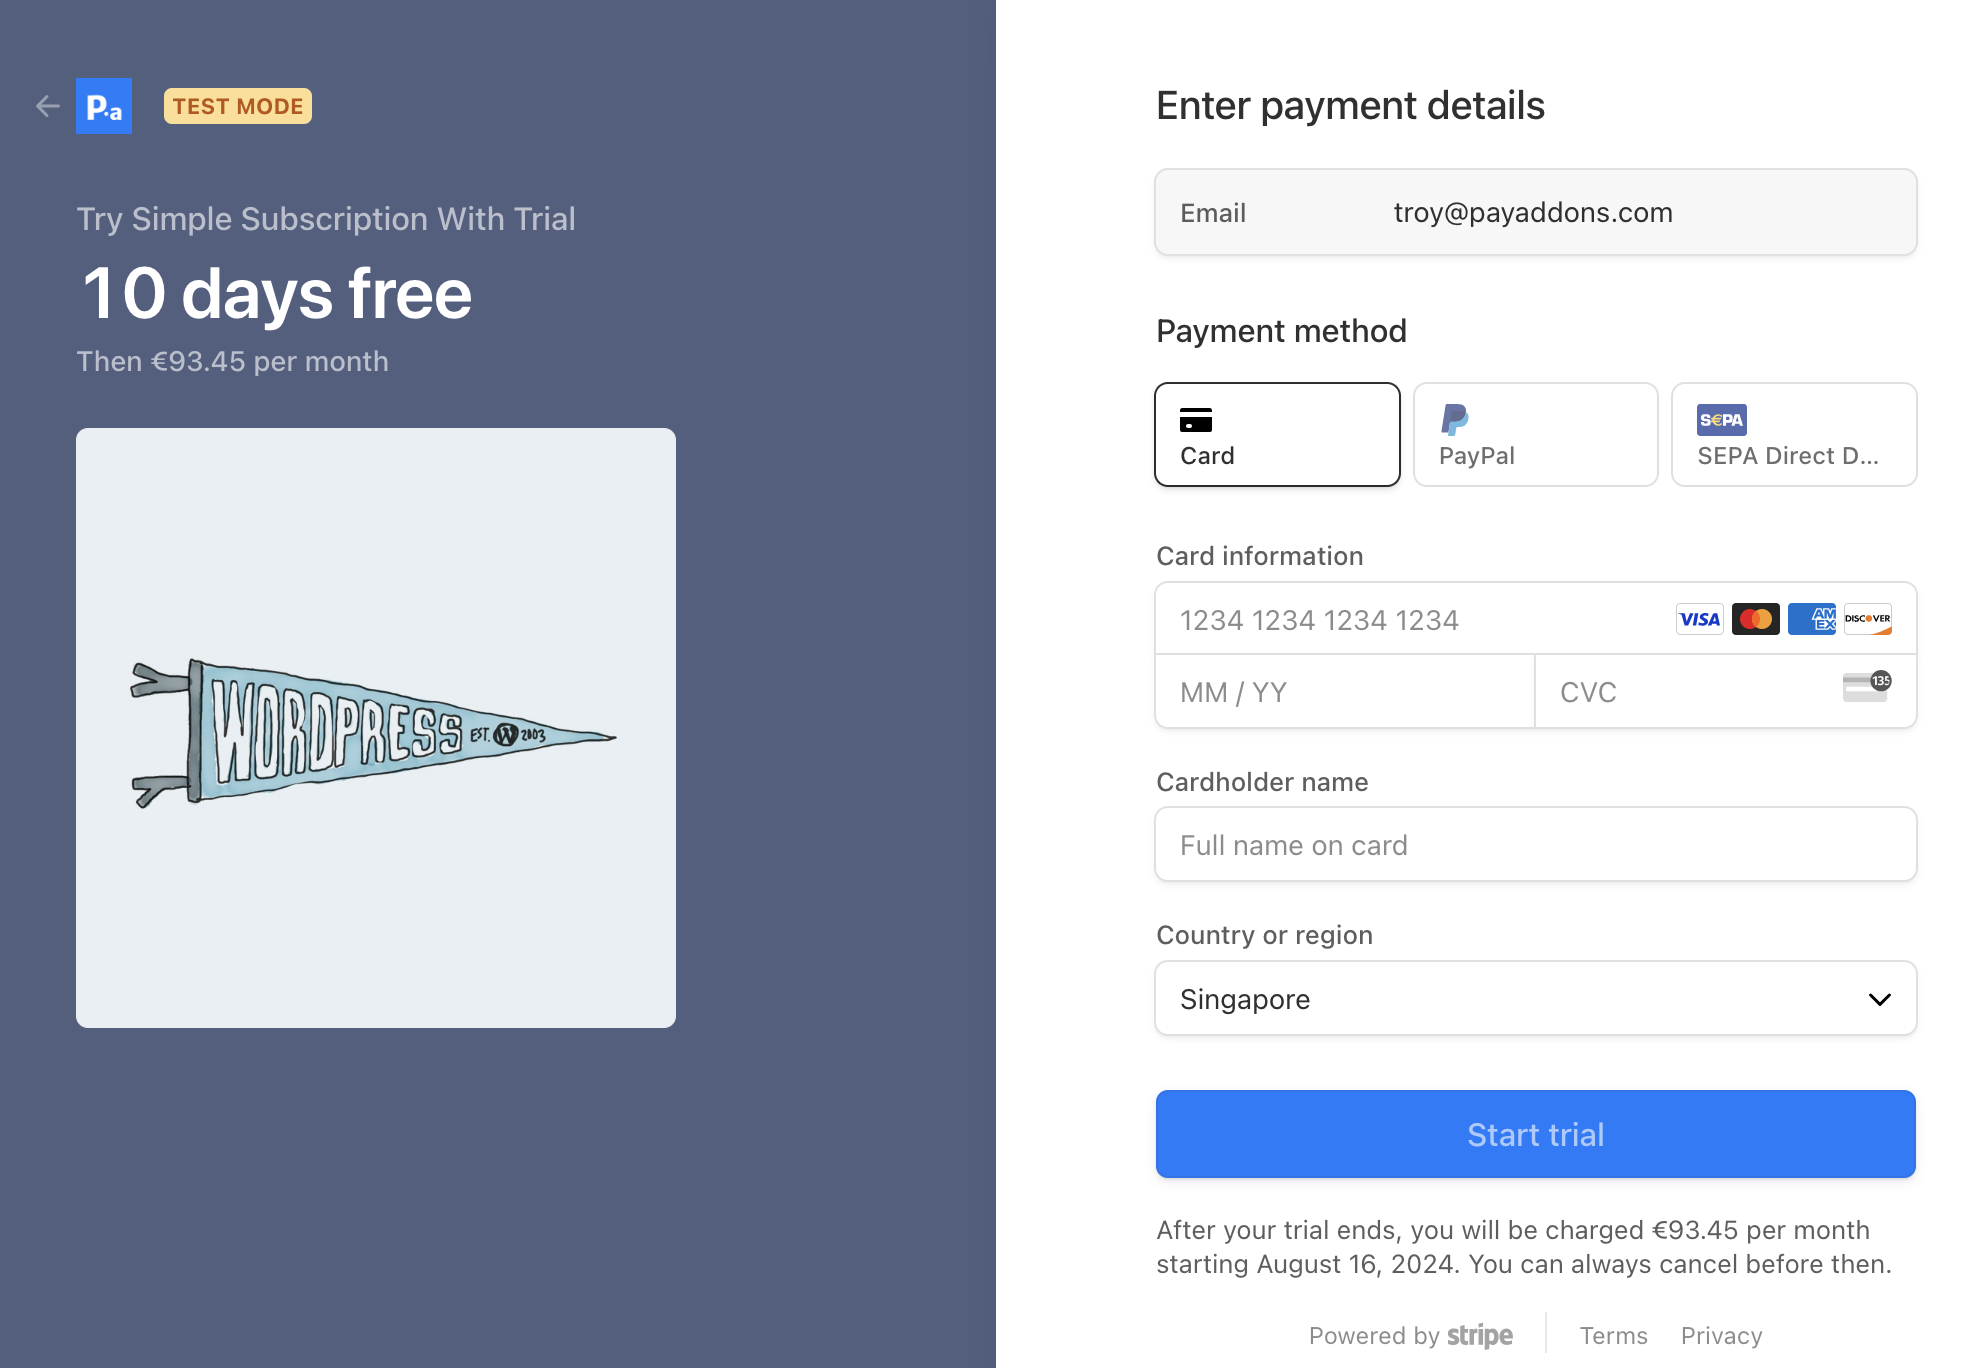
* Free trial: 10 days
* Taxable: Yes (ensure tax settings are configured)
Save and publish the product.
#### Process a Subscription Order
1. Add the subscription product to your cart and proceed to checkout.
2. Review the order summary.
3. Click the "Sign Up Now" button to be redirected to the Stripe-hosted checkout page.
**Tip**: For information on subscription coupons, see the [WooCommerce Subscriptions Coupons documentation](https://woocommerce.com/document/subscriptions/subscriptions-coupons/).

#### Combining Regular and Subscription Products
This integration supports mixed carts containing both regular products and subscription items. Customers can add both types to their cart and complete the purchase in a single transaction.
By following this guide, you can easily set up and manage subscription products in your WooCommerce store, leveraging Stripe's secure checkout process. This integration offers flexibility for various subscription models and ensures a smooth experience for both you and your customers.